Saturday, April 30, 2022

Husqvarna YTH 22V46


I've had this mower for a couple of years (bought it used) and it's always run like a champ.  The only thing I've done to it since I bought it was change the oil, spark plugs, and air filter.  I also switched out the blades for mulching blades.  A few days ago, I was mowing and the mower suddenly stopped running.  It behaved as if I had tripped a safety switch.  The local repair shop wanted a $35 pick up fee plus $$$$ bench time, and said they would have to keep the mower for two weeks.  Two weeks!  You know how tall my grass would be in two weeks?  I decided to see if I could solve the problem myself. 

Because of the sudden way the mower stopped running, I decided it wasn't fuel.  Plus, there was gas in the tank and it hadn't been sputtering.  So, not fuel.  Had to be fire, right?  I thought I would start with something easy, so I disconnected the battery to see if it would reset any tripped safety switch.  No joy.  (The battery tested fine, by the way.)  Next, I decided to change the one and only fuse on the mower.  Easy and cheap, right?  The owner's manual said the fuse was located behind the dash.  Indeed it was.  Way, way, way behind the dash.  This mower has the battery box in the rear, under the seat, and I found the fuse under the right fender after I removed the battery.  So, "behind the dash" meant tucked up under the rear fender.  
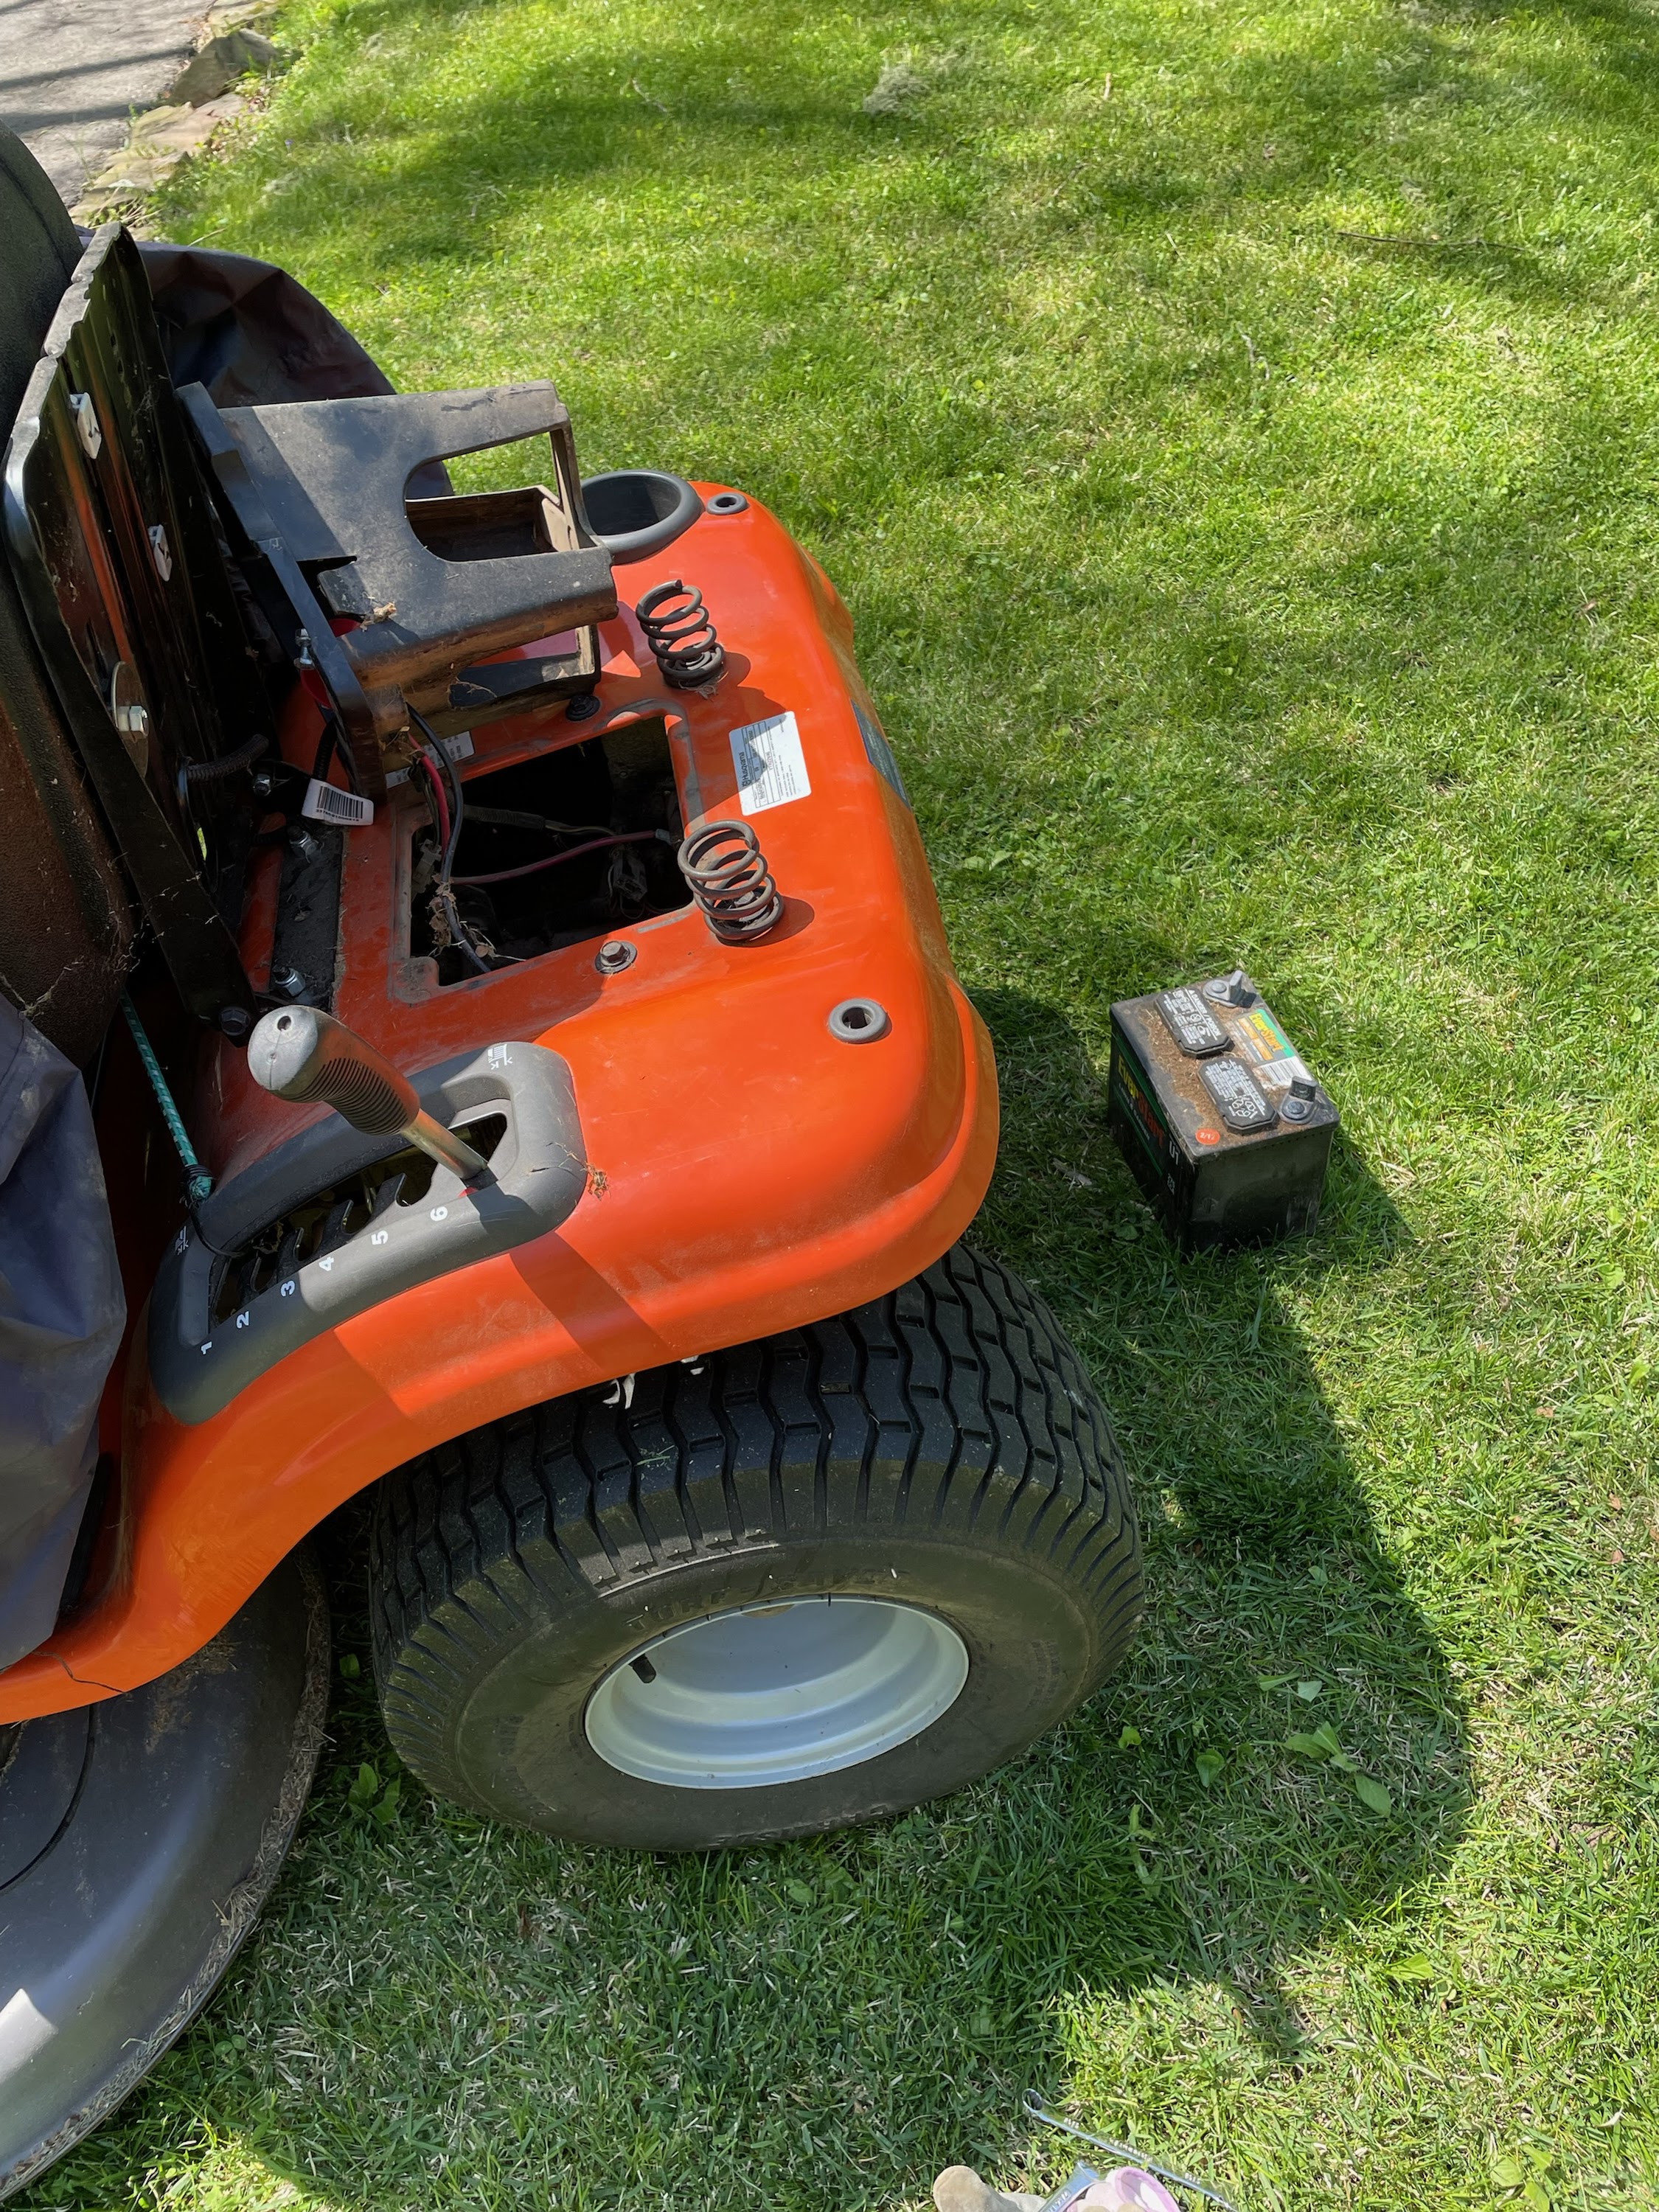


The new fuse didn't solve the problem.  Rats!  

The solenoid was located right next to the fuse.  I'd never had a solenoid go bad on a riding mower.  But, it was easily accessible.  It was electrical.  And it would be a cheap part and easy to replace if it was bad.  


I put a screwdriver across the two screws you see in the photo above and the starter spun, which meant the solenoid was bad.  If you decide to bridge the two screws with a screwdriver, be prepared for a couple of sparks and please don't burn down your garage!  Safety first, people.
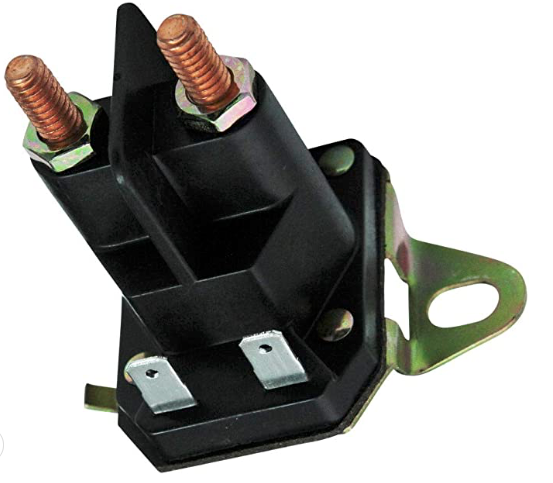

Removing the solenoid was easy.  I disconnected the two nuts with lock washers attached, removed the wires behind the nuts, unplugged the two connectors under the wires, and removed the bolt that holds the solenoid to the mower body.  A local auto sports shop had the correct solenoid for around $15.  


This is what the nice, new, clean solenoid looked like.  Installation took only a few minutes.  After I installed it and reconnected the battery, the mower fired up and was ready to go.  

The moral of this story: Don't trust the manual and don't be afraid to get your hands dirty.  Time to mow!  


Sunday, November 5, 2017

Someone To Love


Elliott, my husband for nearly four decades, died at the end of October 2017. He was a good man in every sense of the word. He was patient, caring, fun-loving, generous, and always smiling. He never stopped looking at the world with wonder. He loved making music, getting his hands dirty, and being a pilot. He told me time and time again it was important to be loved, but it was more important to love someone. Toward the end of his life, he said he regretted leaving me without someone to love. As I told him, he didn't need to worry because I will always love him and if he sends me someone new to love, I will know it and I will love the person he sends just as fiercely as I love him.  Blue skies forever and ever.  

Sunday, June 4, 2017

Sewing Softies


Lately, I’ve been sewing soft toys for the pediatric ward of a hospital and for two groups which assist foster children. These were a lot of fun to make and a good way to use some of my accumulated fabric.  (Not to worry.  I have plenty of fabric left.) 

The chickens were made from either flannel or bubble fleece.


I used cotton for the mice.  The photos show them before and after they were stuffed.  
My 90-year old mom, who taught me to sew, stuffed these and sewed them closed.


The fish were cotton on one side and light blue bubble fleece on the reverse.


Some elephants were flannel and others were fleece.


There were cotton and fleece snakes, flannel dogs and cats, and more flannel chickens.


If you would like to sew softies for a charity, you can find patterns here:

Chickens - RedTedArt.com
Mice - SewCanDo.com
Fish - Lauri-NanaNews.blogspot.com
Elephants - MadeByEnginerds.blogspot.com
Snakes - MakeIt-LoveIt.com
Dogs - JenniCanKnit.blogspot.com (No pattern. She made a stuffed ornament)
Cats - TheCraftedSparrow.com (I omitted the tail)

Happy Sewing, Everyone!


Sunday, April 9, 2017

Singer Built-In Retractable Foot Controller


In the post about my Singer 201 and its cabinet (http://box344.blogspot.com/2014/12/singer-201.html), I mentioned it had a built-in foot controller which the previous owner replaced because it didn't work.  Recently, on the Vintage Singers Yahoo group, there's been some discussion about a built-in foot controller, so I thought I would tell you a little more about the controller which came in my cabinet.

The controller was installed under the bottom drawer and this is what it looked like when it was in place:


There's a notch carved into the side wall of the cabinet and there's an arm which sticks out of the notch.  Keep in mind, you're looking at this with the cabinet turned upside down.  The arm is where your right foot would be if you were seated at the machine.  

Here's a closer view which shows you the part number on the controller:


Viewed from the top (after I removed it from the cabinet), you can see how this worked.  There's a little rounded nub on the end of the arm (it's at the lower edge of the next two photos) and that's what you would have pressed to engage the controller.  Pressing down on the arm also allowed you to slide the entire arm into and out of the cabinet so it would retract when you wanted it out of the way.  The top photo shows the arm extended and the second one shows it retracted. 


I kept the controller because one of these days, repairing it might float to the top of my "to do" list.  If anyone knows where the wiring should run in the cabinet, please let me know.  It was wadded up next to the controller when I bought the machine so I'm not sure what route it ought to take to get from the controller to the machine head.

Happy Sewing Everyone!  

Tuesday, January 31, 2017

700 Dogs and Counting


Most of E’s flying in the past few years has been for an organization we’ve blogged about before – Pilots ‘n Paws. On January 29, 2017, he flew his 700th dog. He flew to North Carolina, picked up a mom and her four puppies, and flew them to Maryland, where he met Natalie and Steve, who flew them to their rescue group in New Jersey. These dogs were rescued and fostered by our friend Pam, who has saved many hundreds of dogs.

Natalie, Steve and E

For the flight, E wore a new zippered fleece pullover I made for him. The dog bones on the front yoke made it appropriate for this flight, I think.


Happy Flying and Happy Sewing Everyone!   

Sunday, January 22, 2017

E's New Pants


A couple of years ago, E emerged from surgery with a medical device which sits almost exactly at his natural waist, sticks out about an inch, and needs to be protected from scrapes and bumps. If it were located a little bit lower or a little bit higher, he could wear all of the pants he wore before the surgery. But, it isn’t and he can’t, so we began looking for pants with a rise high enough to cover the device. (The rise is the distance from the middle of the crotch to the top of the waist band.) Unfortunately, the commercially available pants we found weren’t nearly high rise enough. Nothing to do but make a pair, right?

A few years ago, a blog I like (MalePatternBoldness) had a jeans sew-along using Kwik Sew pattern 3504 and I remembered it seemed fairly easy to follow. The pattern contains several sizes and I copied the one closest to E’s size onto pieces of tracing paper and used the tracing paper pattern to make a pair of trial pants from an old flat sheet. The photo above shows this pair as a work in progress.

The trial pair needed a lot of adjustments, mostly because I was adding so many inches to the rise. When you lengthen the rise as much as I did, the waist no longer sits anywhere near where the pattern intends it to sit and this affects the size of the waist, the size and placement of the front and rear pockets, the taper from the hips to the waist, etc. I incorporated the adjustments into the tracing paper pattern and made a second trial pair of pants. The second pair needed some adjustments, too, so I made more revisions to the tracing paper pattern. The next pair of trial pants fit reasonably well and I used the revised, re-drawn, amended, adjusted, much abused tracing paper pattern to make a pair of pants from a medium-weight cotton twill. (I also re-drew the adjusted pattern onto a clean sheet of tracing paper, to make my life a little easier the next time I use the pattern.)


Here’s a view of the front at the waist. 


The pockets are a snazzy snake skin patterned fabric. 


The yoke in the back came in handy because it allowed me to fine tune 
the fit in the back around the waist and hips. 


And here’s how they look with E inside. (They really don’t pull at the crotch. Honest! I didn’t notice they looked like this when I took the photo and I don’t want to wait for E to get home so I can take another photo. Trust me: They look fine.) 

By and large, I’m happy with these and so is E. I would recommend KS 3504 regardless of how much sewing experience you have. The pattern instructions were easy to follow and the jeans sew-along on the MalePatternBoldness blog has lots of good photos which show how to use this pattern, too.


Happy sewing everyone!

Wednesday, November 23, 2016

Thanksgiving Pumpkin


Pumpkin muffins, anyone?!?!?

The day after Halloween, I bought a pumpkin for $1 at Walmart and put it in the garage where it's cool. Today, the day before Thanksgiving, I chopped it into six chunks and stuck it in the oven at 350 degrees for 45 minutes. After the pumpkin finished baking, I let it cool for a few minutes, peeled off the skin, and ended up with a heaping two quarts of pumpkin flesh pieces. 


After a few minutes with the potato masher, the pieces were reduced to a nice mash.


We used some of the mash to make pumpkin muffins, which are excellent. We set some aside to eat with dinner tonight, saved two cups to make a pumpkin pie tomorrow, and froze the rest to add to soups this winter. We're definitely getting our money's worth out of a $1 pumpkin. 

Happy Thanksgiving, Everyone!  


Monday, October 31, 2016

Sewing Machine Stool


About a year ago, I began looking for a stool to match a mid-century modern Copenhagen-style sewing machine cabinet. I found several which were too expensive (more than $100) and one which needed too much restoration work (the legs were painted blue and the seat had been recovered with a printed patchwork cotton fabric). Finally, a month ago, I found a stool with a reasonable price ($20) and its original upholstery. The upholstery was in good shape, but the legs needed some work.

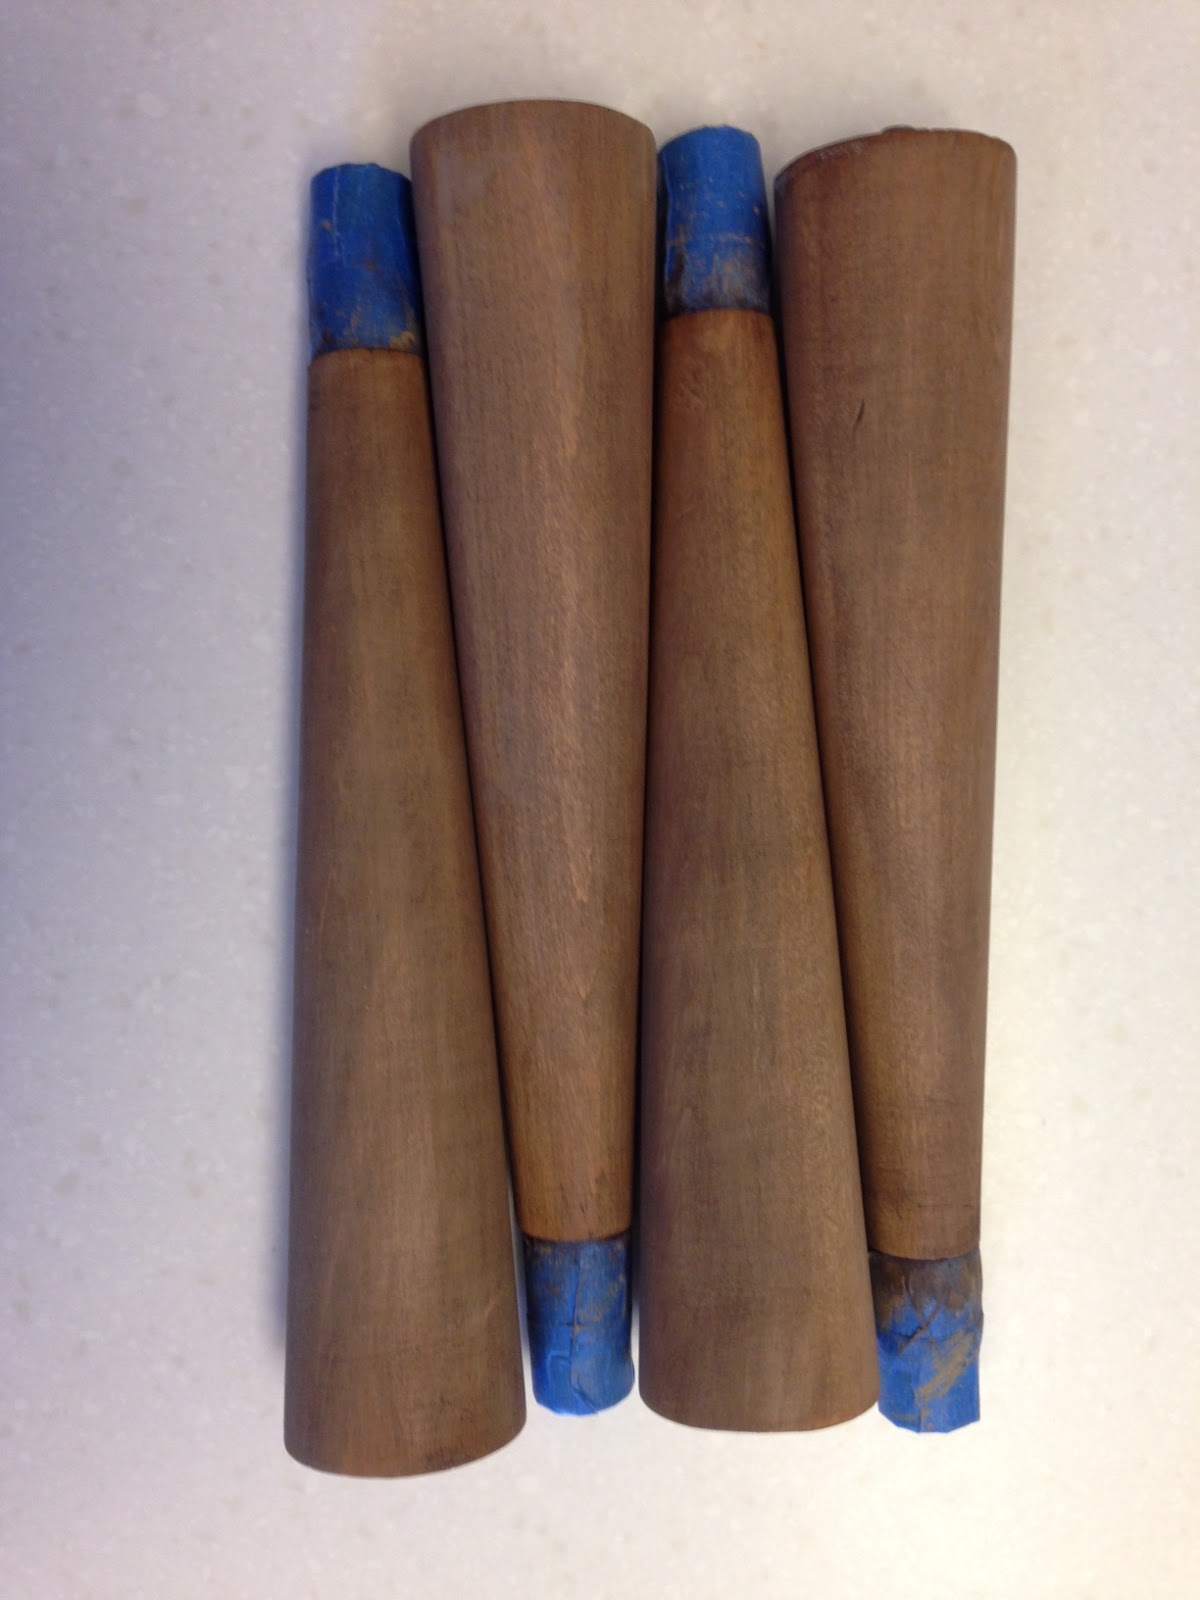
The legs had a coat of tan paint over the original blonde finish and they’d been scuffed up a bit.


I didn’t care about the paint or the scuff marks because I was going to refinish the legs to match my cabinet. I used wood stripper and a teflon pad to remove the old paint and the original finish.


Next, I applied a walnut stain which I knew would be too dark. I wiped off most of the stain immediately after I applied it and then used mineral spirits to make the walnut stain even lighter.


I brushed on a coat of polyurethane which contained a cherry stain. If I’d wanted the legs to be more red, I could have applied another coat of the polyurethane/stain, but they were exactly the color I wanted after one coat. 


I’m thrilled to pieces with my “new” stool and I'm sure I'll use it a lot. Happy Sewing everyone!

Sunday, July 31, 2016

Renovated Bird Bath


Our bird bath developed a bunch of cracks and would no longer hold water. It was a shame, because the bird bath was great. It’s made from light weight plastic and has a little solar panel in the middle which runs a pump so the birds can have a shower as well as a bath. For a while, epoxy worked to seal the cracks and stop the leaks. Eventually, though, epoxy couldn’t keep up with the cracks. When we looked for a replacement, we couldn’t find anything we liked.

Plasti Dip to the rescue! If you haven’t used Plasti Dip before, enter it as a search term on youtube and you’ll see people using it in all kinds of creative ways. It’s a product which creates a flexible plastic barrier that feels sort of like rubber. We used a can of yellow Plasti Dip (because that’s what we could find) and a paint brush to fill and cover the cracks in the bird bath. We didn’t want a yellow bird bath, so when the yellow Plasti Dip dried/cured, we used a rattle can of gray Plasti Dip to cover the entire top surface of the bird bath.


Plasti Dip was easy to use and worked exactly as we hoped it would. 


The bird bath is now getting heavy use and isn’t leaking.  The birds are happy and we are, too. 


Saturday, April 30, 2016

New To Me Serger


Today, our small town held its annual "Big Flea," which gives people the opportunity to set up folding tables on the common and sell all the unwanted stuff they've accumulated in their garages since last year's Big Flea. We didn't see anything interesting until we came to a table with a serger. I've never used a serger, but I've always been curious about them. This one was a White Speedylock 1600 and it came with a box of accessories, a manual, a plastic cover, and four spools of thread. The only thing missing was a little plastic tray which is meant to snap on the front and collect the pieces of fabric as they're cut off by the serger's blade. The person selling it seemed to think it probably worked and she had it priced at $30, so we decided to take a chance.

The Bird's Eye View
We got it home, cleaned it a bit, oiled it, threaded it, and lo and behold it works fine. Now all I need to do is think of a reason to use a serger.  Happy sewing (and serging) everyone!

Sunday, April 24, 2016

Hidden Gems


Last week, we were on our way into an office building when we spotted two giraffes. Giraffes??


E is a little less than six feet tall, so you can gauge how tall the statues are. According to one of the tenants in the building, the building's owner saw these on his travels in another country, fell in love with them, bought them, and shipped them to the United States. We are grateful he installed them where lots of people can enjoy them. 


Unexpected art is always a treat!


Saturday, April 9, 2016

Dogs in the Garden Quilt


In looking through my remaining flannel scraps, I found flowers, lady bugs, butterflies, salamanders, birds, and dogs. There were some scraps of pink, too. I jumbled all of these together to make squares for the quilt I finished today – Dogs in The Garden. This is another small quilt, 36 x 42 inches. I pieced the top with my Singer 201 and finished it with my Singer 401.

The back of the quilt is a piece of flannel from my stash and it continues the garden theme. No dogs on the back, though.


I used a polka dot scrap for the binding and had less than one inch left over. There was just barely enough to join the two pieces of binding. Yikes! Someone asked me how to join the two ends of the binding with a bias seam and this photo shows how to do this. One end needs to overlap the other end by the width of the binding. My binding was three inches wide, so I needed to overlap the ends by three inches. Right sides together.  Make sure the folds in the binding are as shown in the photo and also note the twist (or lack of twist) in the ends. Sew on the diagonal along the pins in the photo. That's all there is to it. 


Frieda enjoyed exploring the scrap bag while I sewed.


I hope Spring has arrived where you are. Our high temperature today was 45 degrees with stiff winds and spitting rain which is supposed to change to wet snow later this afternoon. Perfect weather for a lap quilt.

Happy sewing, everyone!


Monday, February 8, 2016

DIY Cutting Table


For a long time, I used my dining room table as my fabric cutting table. I liked the large work surface, but I didn't like the low height of the table (oh, my aching back!) and I didn't like making a mess in the dining room every time I cut a piece of fabric.

Eventually, I abandoned the dining room table and started using the twin bed in the spare bedroom as my cutting table. I put a hollow core door on top of the bed and used bed risers (those plastic things you put under the feet of a bed to raise it up) to make the work surface higher. I liked having a higher work surface, but it wasn't ideal because there was no overhang which meant I was bending over the whole time I was using it. Plus, I didn't like giving up the spare bedroom. And, the hollow core door wasn't as large as my cutting mat, which is 3x4 feet.

I looked online to see if I could find a cutting table I liked. A lot of them weren't tall enough for me. Others were designed to hold a sewing machine, which I didn't need. Others had lots of drawers, but I wanted a large open space under the table. Still others were (in my view) ridiculously expensive.

So, one morning after breakfast, I made a quick sketch of what I wanted and E headed to the shop. The end result was my new cutting table. The table top is 4x4 feet of 3/4 inch plywood, which is big enough for my cutting mat and leaves space along the back edge for a lamp, fabric weights, boxes of pins, etc. The framework is made of 2x4s and it's 36 inches wide and 33 inches deep, so I have a nice overhang on each edge. The wheels caster so I can roll it around the room in any direction and wherever I want. The height to the top of the work surface is 37 inches, which is exactly what I wanted. The sides and the back are pegboard where I can hang my rulers and my smaller cutting board. In the big open space in the front, I put an old two-door chest which holds all of my spray "stuff" -- starch, sizing, temporary bond, permanent bond, etc. Next to the chest is my embroidery machine. (Pay no attention to the cow. She's purely decorative.)


My sewing room is on the second floor of our house and there was no way we could possibly carry this up a flight of stairs or get it through any of the doors. So, we turned it into a flat pack and put some of the pieces together in the shop, carried them upstairs to the sewing room, and assembled it there.

I am thrilled with my cutting table and look forward to using it soon. Happy sewing, everyone!