After keeping an eye on craigslist for a while, I found a Singer 636 in a Copenhagen style cabinet. I didn't want the 636, but I definitely wanted the cabinet. A few days later, the 401 was at home inside its beautiful new cabinet and the 636 was shoved off to one side in my sewing room.
I didn't intend to keep the 636, but I took a look at the owner's manual and learned the machine would chain stitch. Hmmm. I didn't have a machine which would chain stitch. The next thing I knew, I was cleaning and oiling the 636 and putting it through its paces and it ran great. I put it back in the sewing room and decided to noodle around with it later when I could think of a project which would let me use the chain stitch.
Fast forward to a couple of weeks ago. I was in a local thrift shop and saw a cabinet for $12. I think the prior owner used the cabinet as a plant stand in a sunny window because there were lots of water rings on the top of the cabinet as well as huge water stains on the underside of the top. Also, the hinges were rusted in place, and what was left of the finish was dull and faded. It came with a knee bar and a foot controller which I knew I could use as a spare, and that's how I justified spending the twelve bucks. I brought it home and after using a ridiculous amount of sandpaper and a small can of polyurethane, here's the new home of the 636.
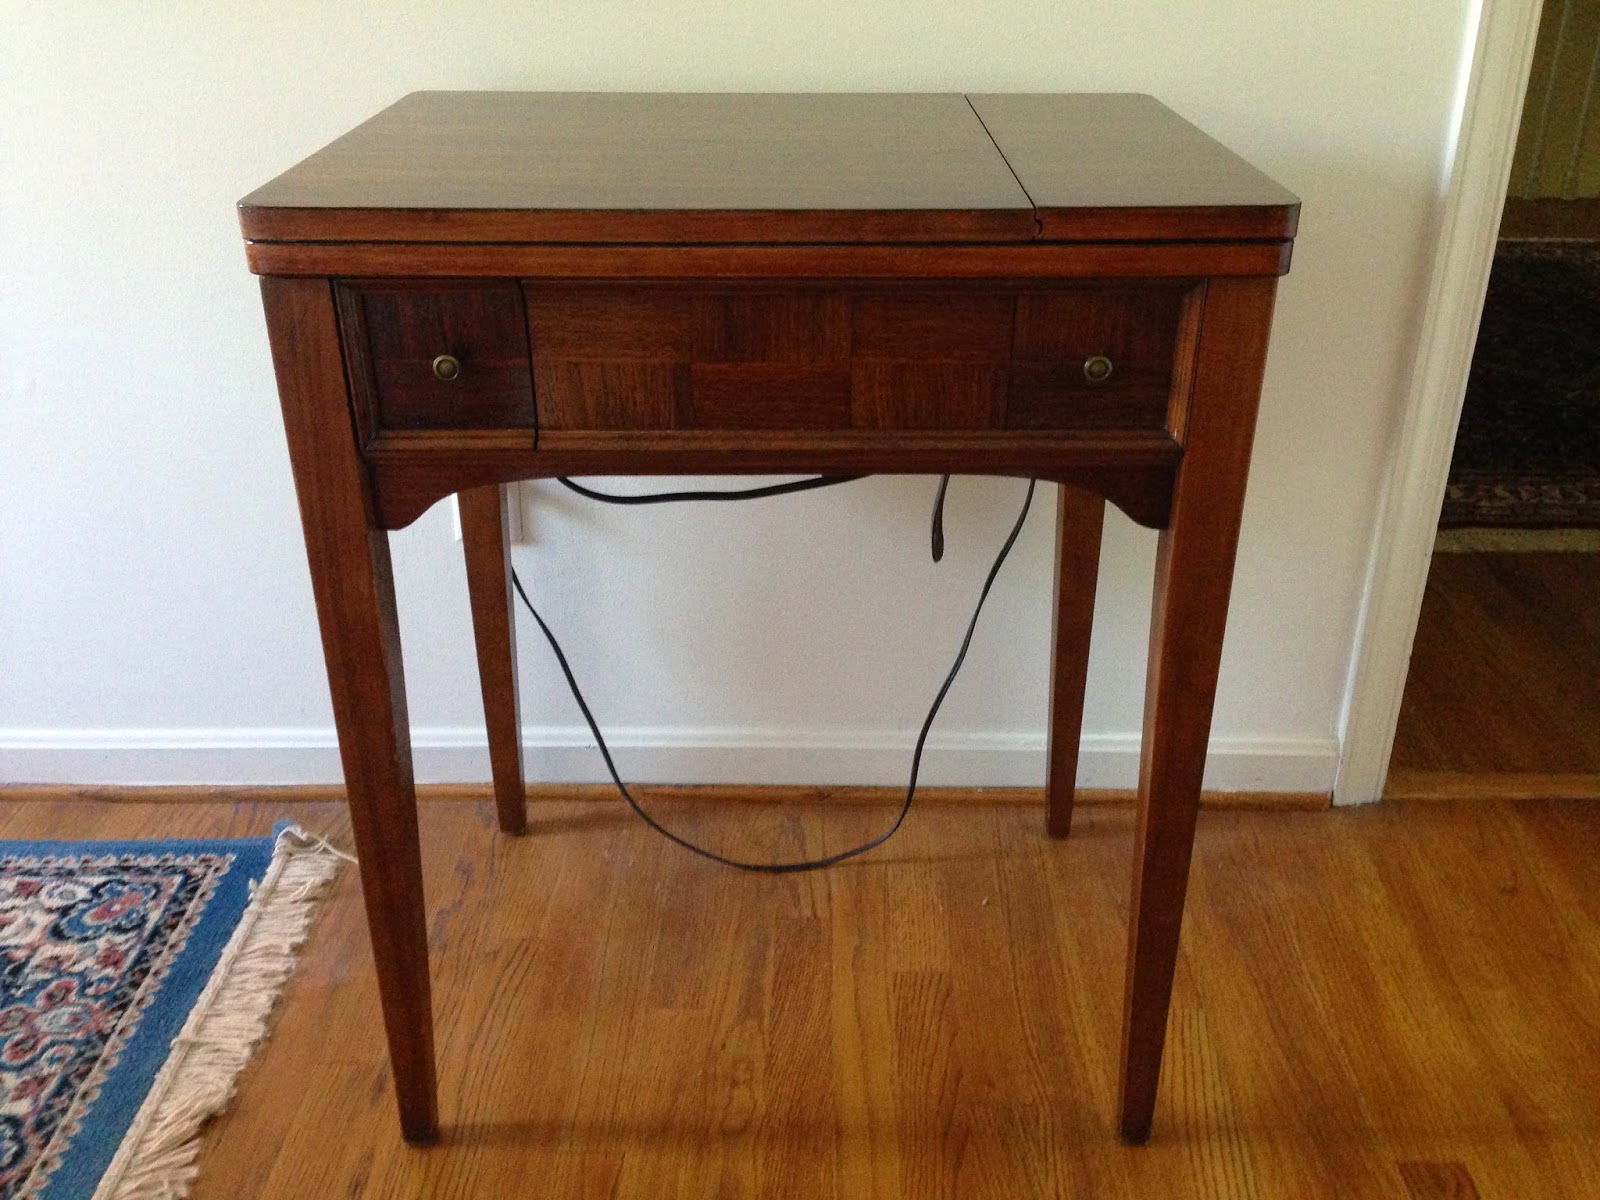 |
| Please ignore the dangling cords |
 |
| It's shiny enough to reflect the painting on the wall above it |
 |
| Parquet front |
 |
| One drawer |
 |
| Tongue and groove closure |
 |
| A wing on each side |
I was kind of surprised when the cabinet ended up looking as nice as it did because it was such a mess when I started working on it. Bringing it back to life was time-consuming, but not difficult. I started with a stripper to take off what was left of the old finish. Then I sanded everything down to bare wood. Put on a coat of polyurethane and let it dry for 24 hours. Sanded it. Put on another coat of polyurethane and let it dry for 24 hours. Sanded it a little more lightly than the previous time. I repeated the process, sanding more and more lightly each time, until I was happy with it.
I'm still looking for an excuse to use the chain stitch. If you have a suggestion, please share.
Looks great! I always love breathing new life into old things.
ReplyDeleteThanks, Michelle. Even though I've done quite a bit of refinishing work, I'm always surprised to see what a few dollars worth of sandpaper, stain, and polyurethane can do.
ReplyDelete